20 Basic Vaults for Parkour & Freerunning
/0 Comments/in Parkour/Freerunning Theory /by chadzThis post is primarily about static flow using a single, short, thin obstacle to vault. Very much less so about parkour style overcoming an obstacle and continuing motion.
Teaching for over 10 years at my Parkour gym in Minneapolis has lead me really analyze how we teach vaulting in our Parkour classes. I have been working on a theory/concept of vault flow for parkour and freerunning (think stuff like this video here). What I’ve been trying to do is systematically break down the vaulting technique of parkour and freerunning into it’s simplest form so I could exhaustively practice every possible way to overcome a typical vault style obstacle. These ideas have been constantly evolving throughout the years to include more things or become easier to understand.
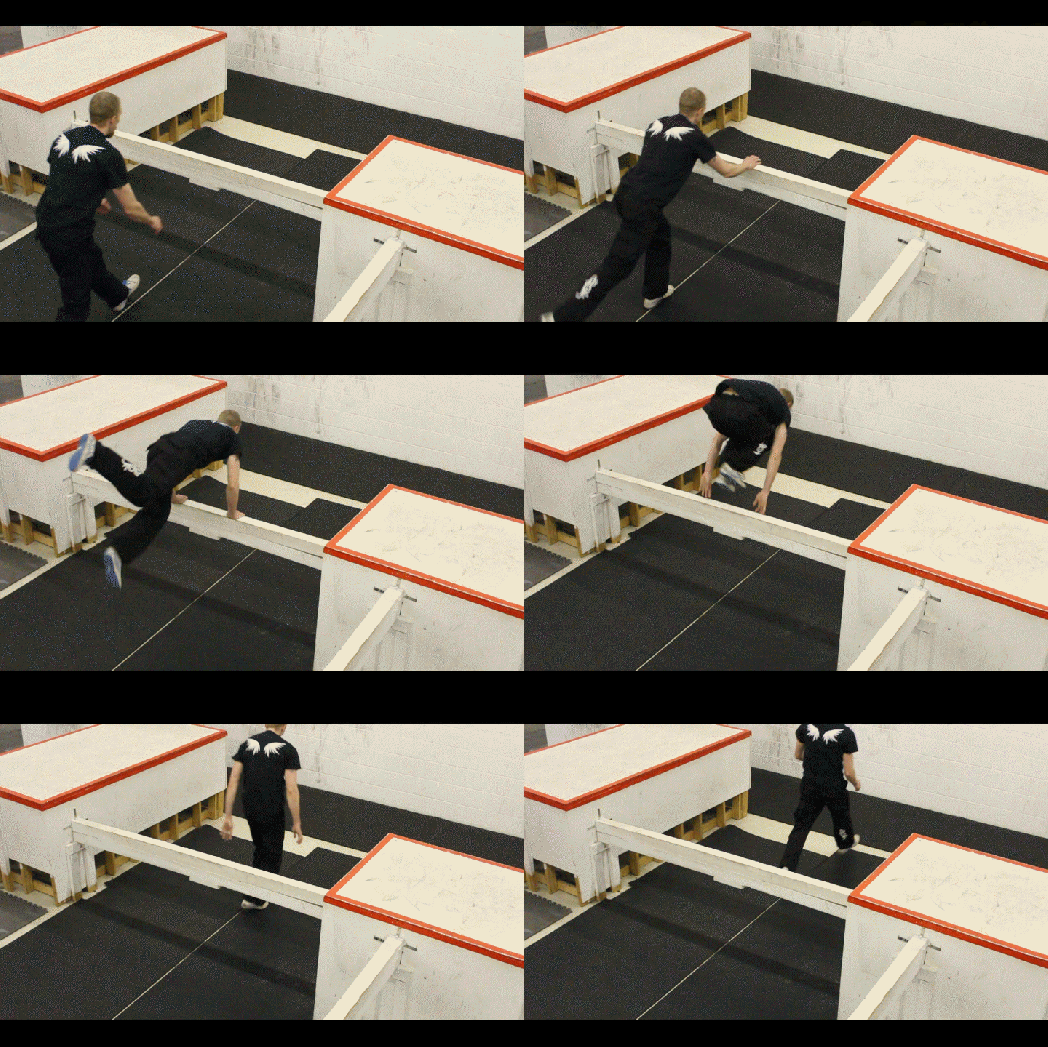
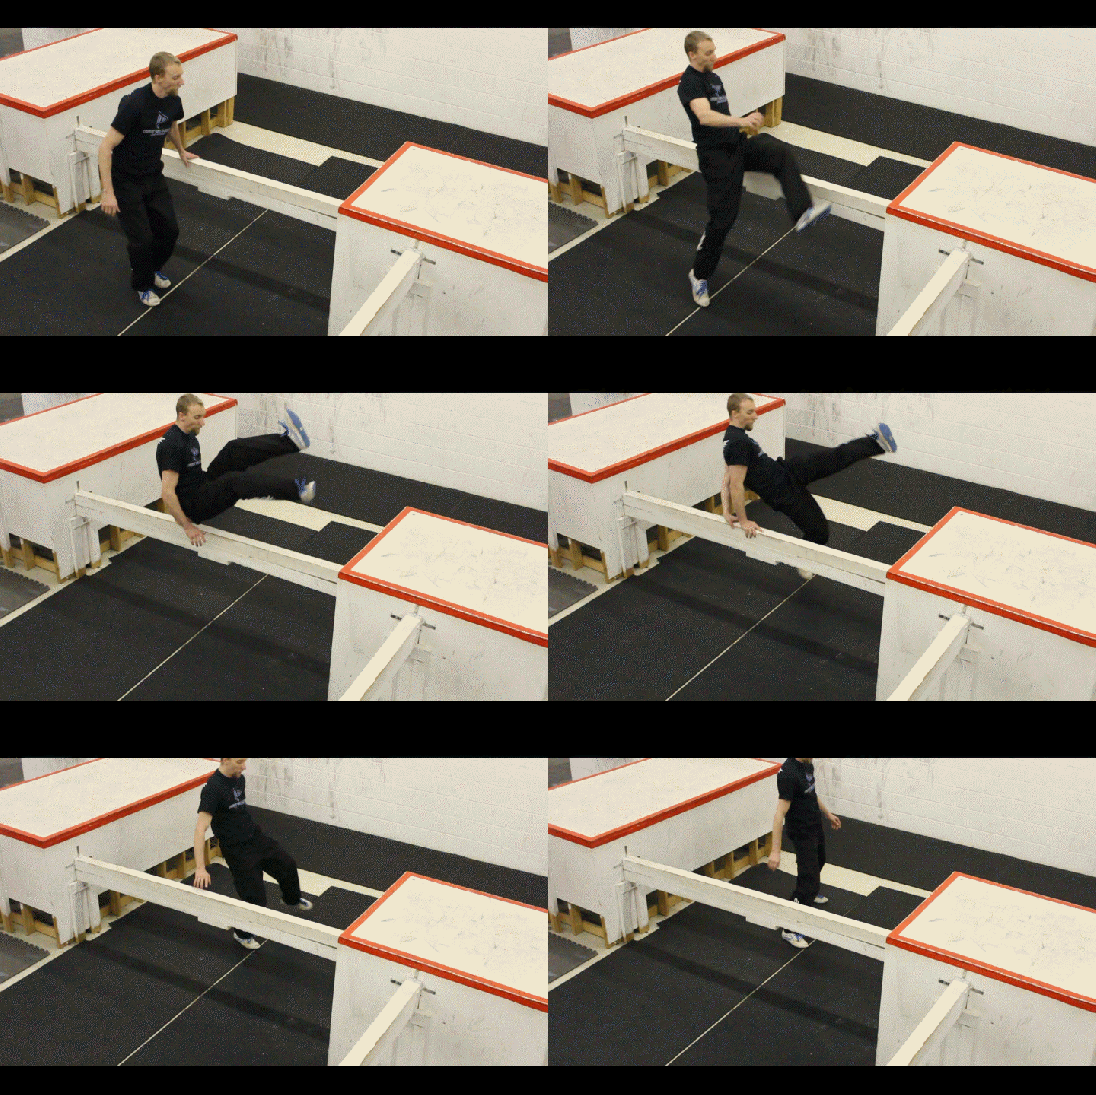
Speed Vault
To do a speed vault; you will first jump off of your left leg, put your left hand on the obstacle as you clear it, and land on your left leg to step out. You could also do the same vault using your right leg to jump off, your right hand on the obstacle, and land on your right leg. (This is also called a “Safety Vault” or “Step Vault” if you use your leg to help you over.) These would both be considered speed vaults, but are very different in a movement sense and you should definitely practice both of them.
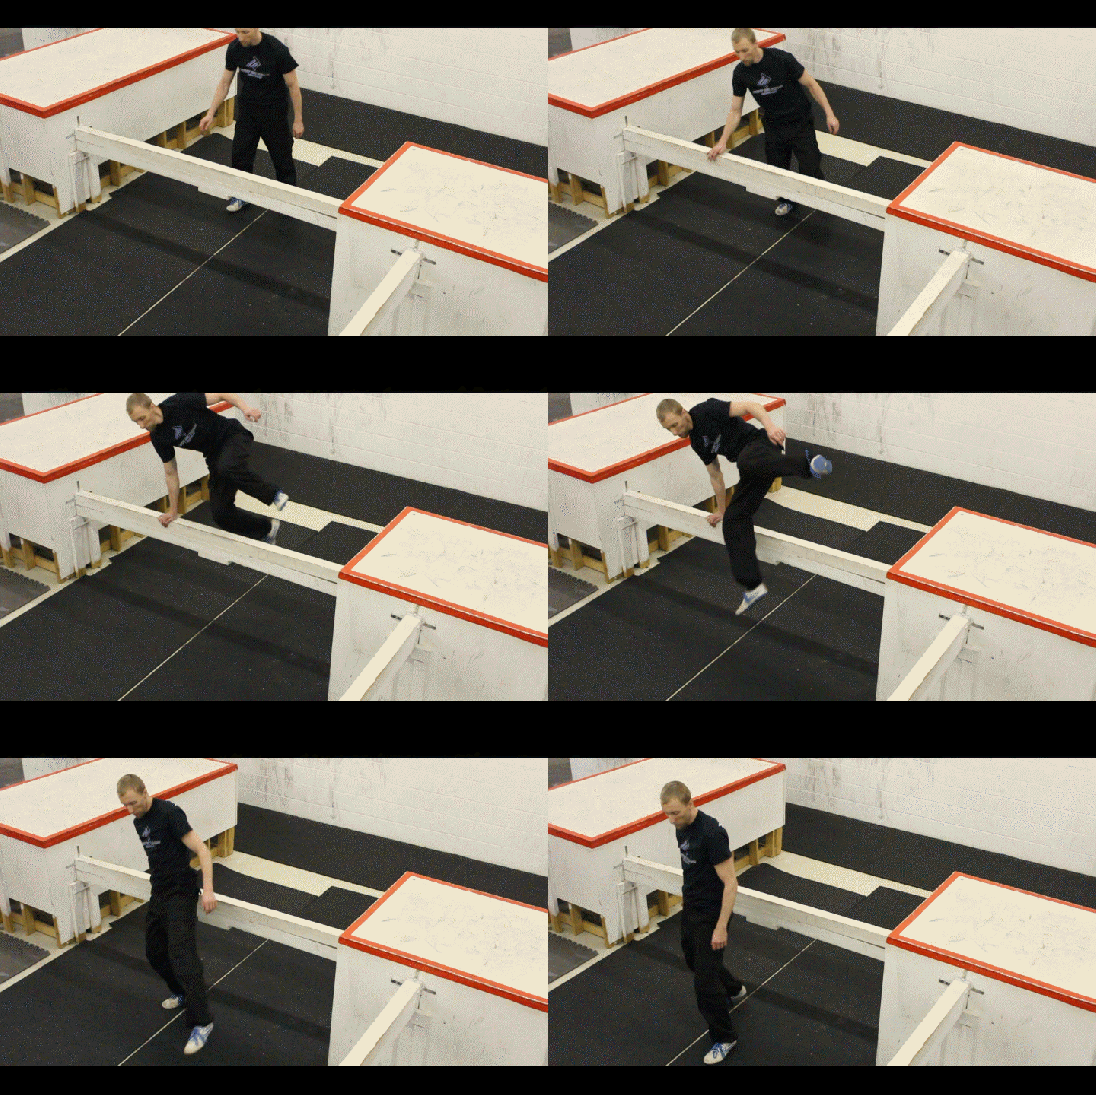
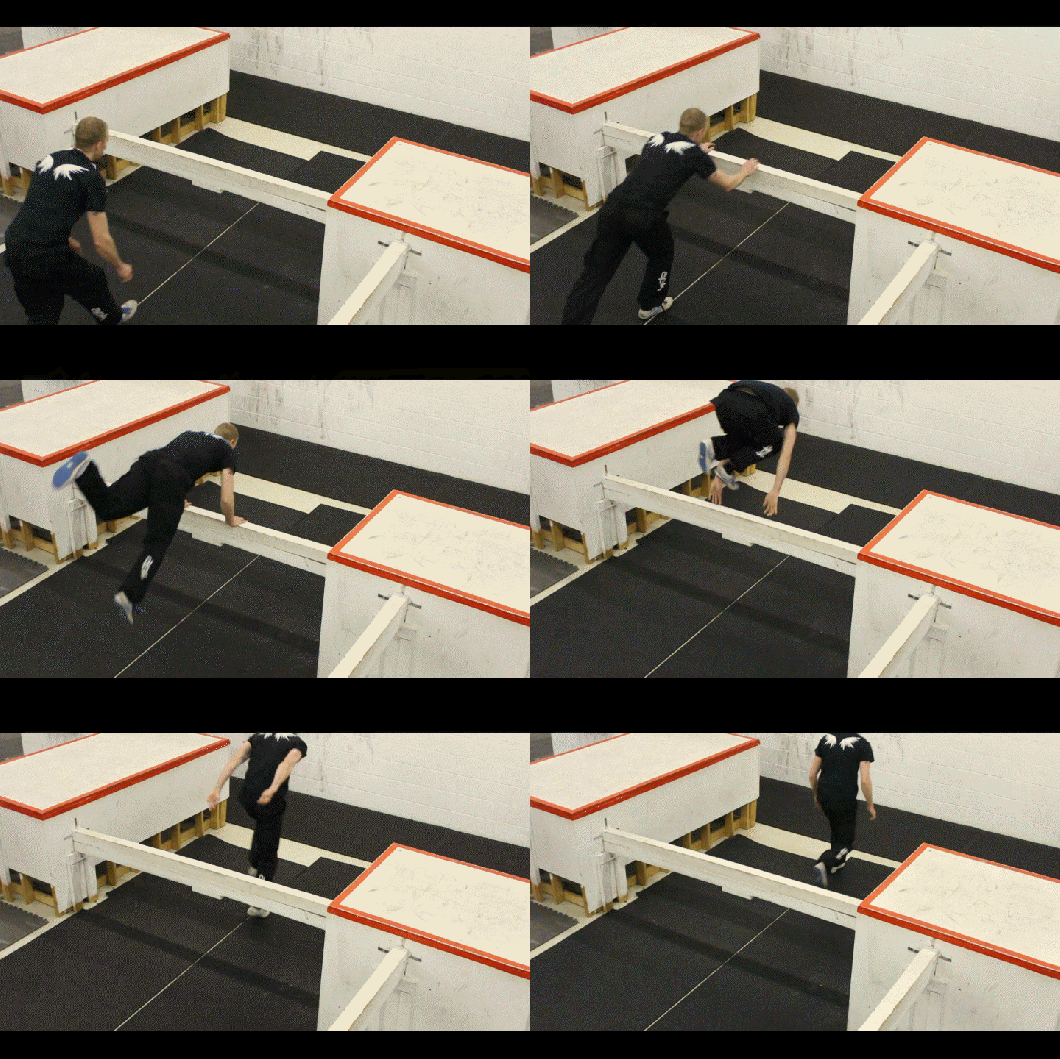
Lazy Vault
To do a lazy vault; you will first jump off with your right leg, put your left hand on the obstacle as you clear it, and land on your left leg. You can also do this on the other side by jumping off with your left leg, putting your right hand on the obstacle, and landing and your right leg. Again, these are different movements and should both be practiced. Now, if we compare the Speed Vault and the Lazy Vault we can see the only difference is the leg that you first jump off of. Other than that, the vaults are identical from an analytical standpoint.
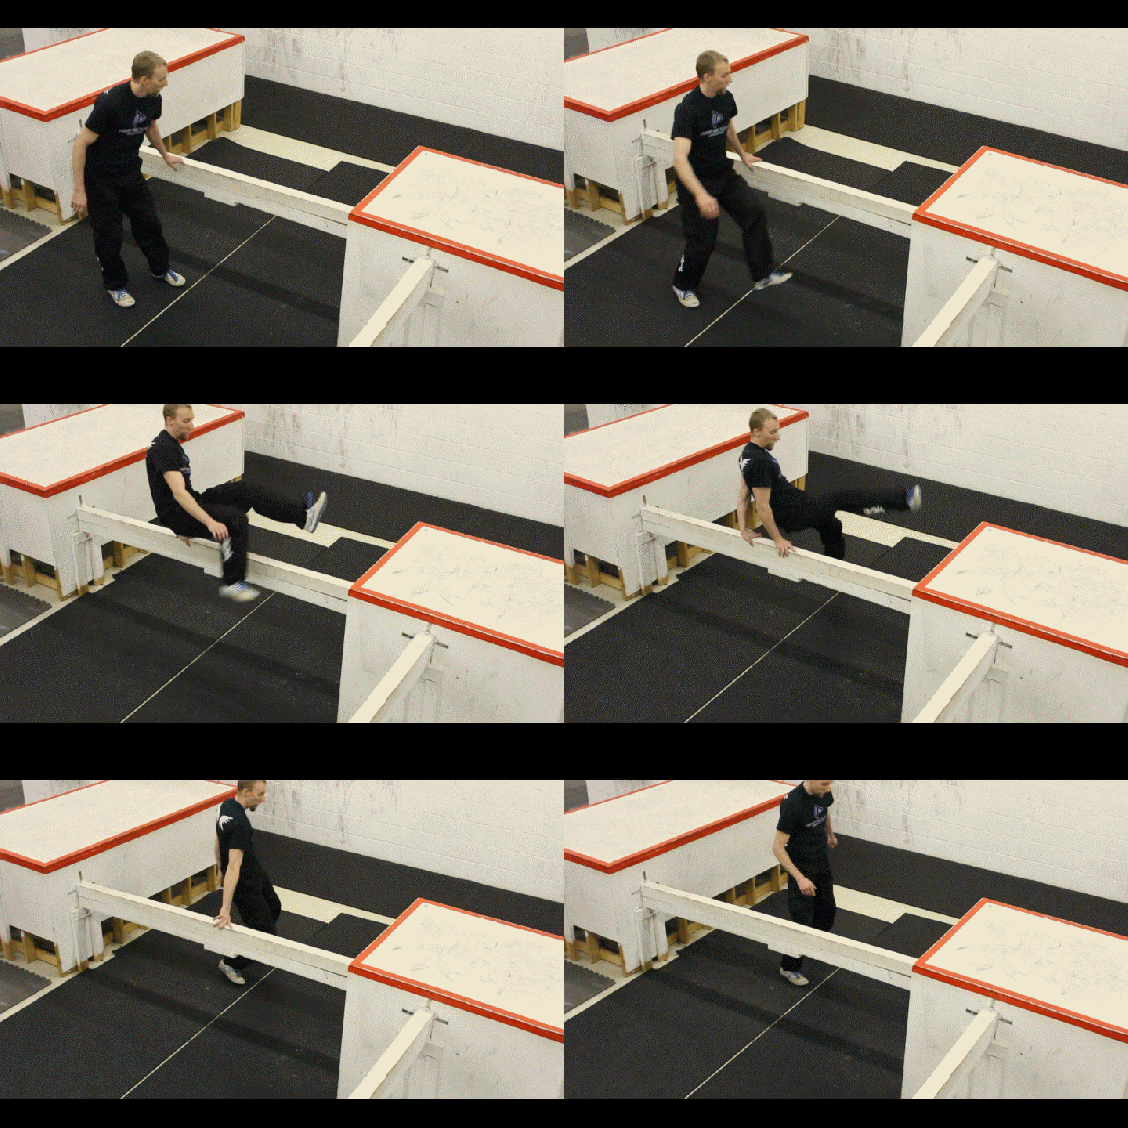
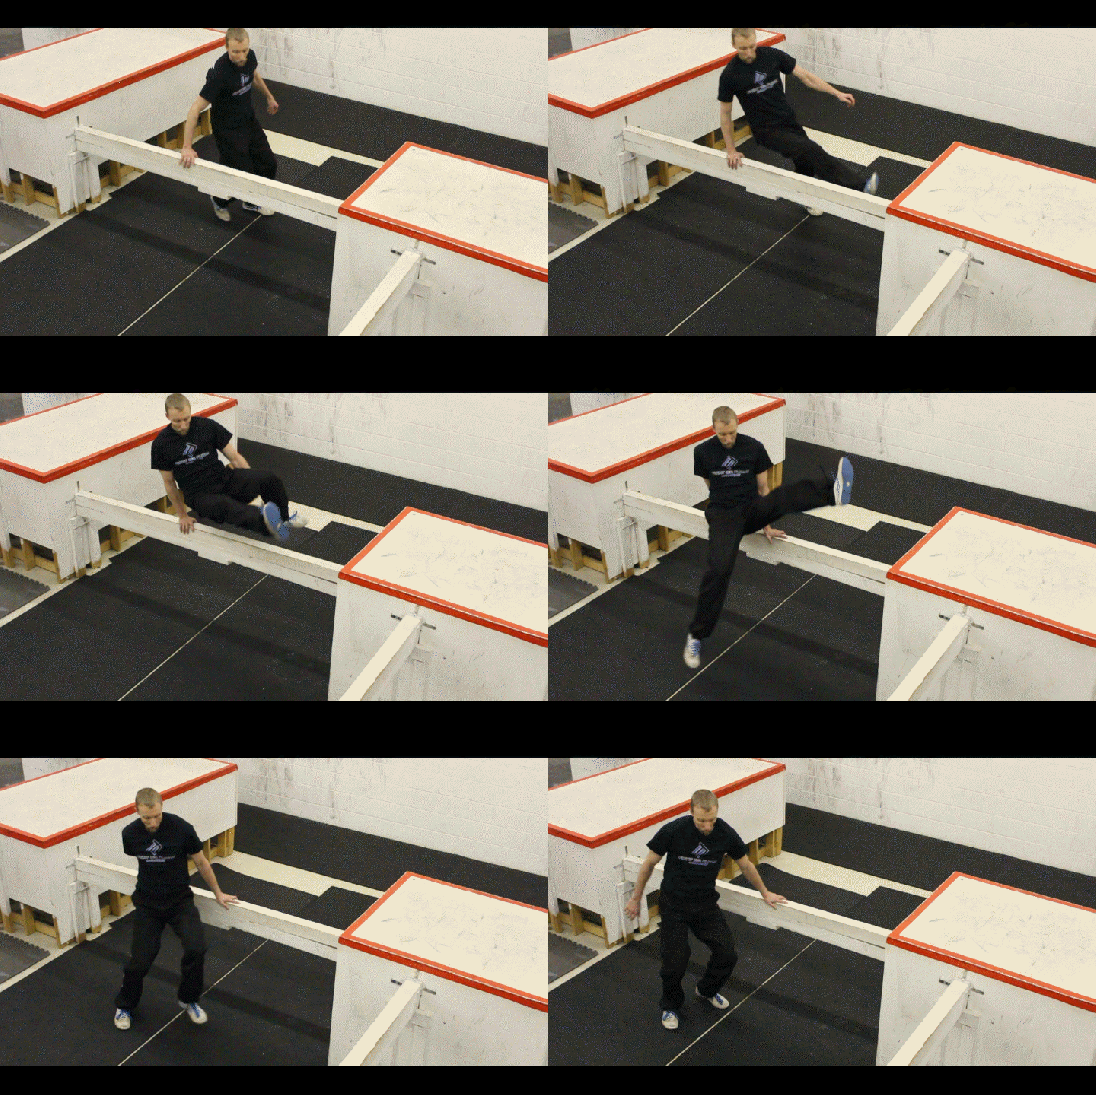
These are the first four vaults in our system and you can start to see why there are some of these differences. The vaults themselves are very similar, however their uses are very different because of the way your body is positioned. Because of the way the take-off works, a speed vault tends to work best if you are coming straight at your obstacle, and running straight away from the obstacle. Alternatively, a lazy vault tends to work best if you are coming at your obstacle from an angle, and running away at a similar angle.
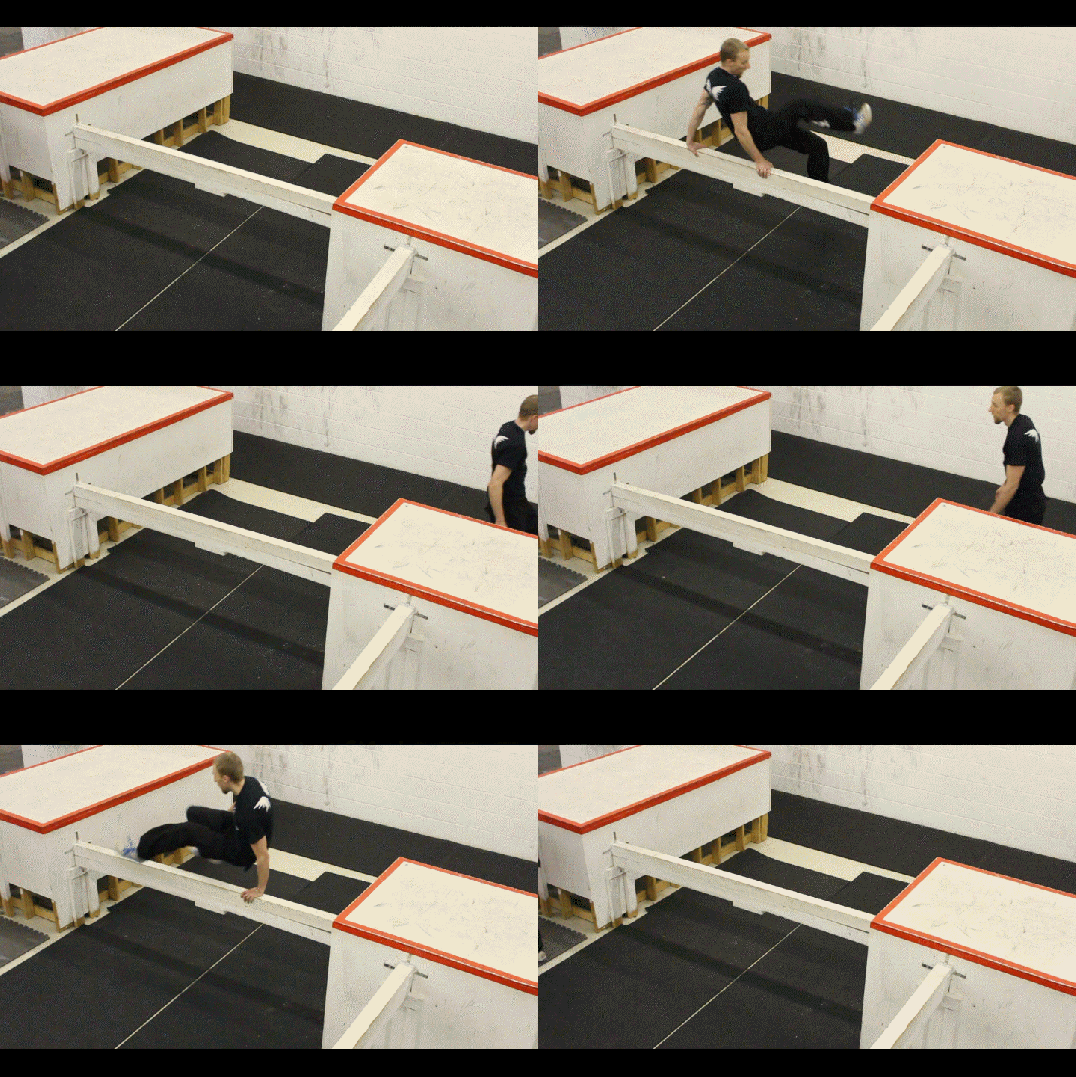
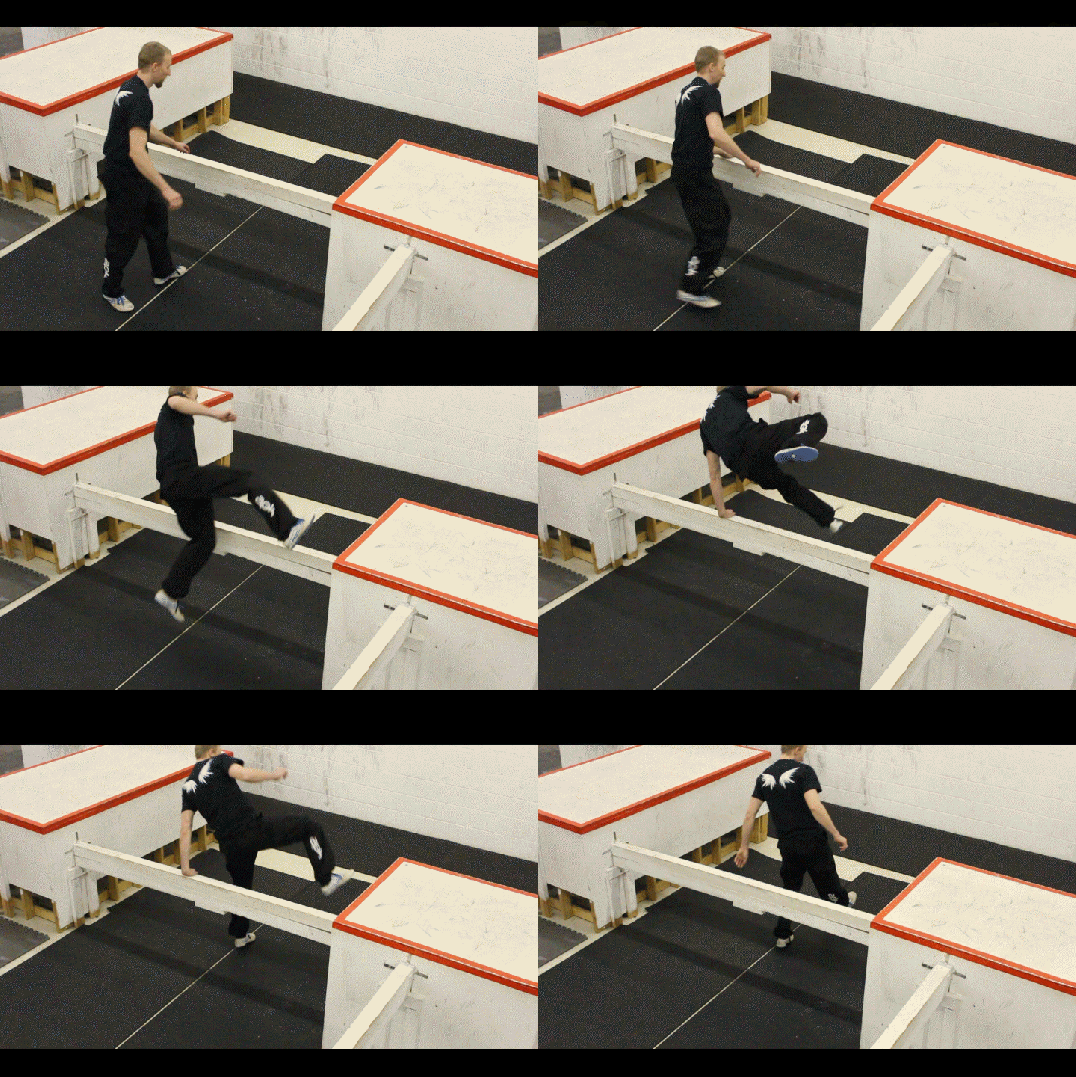
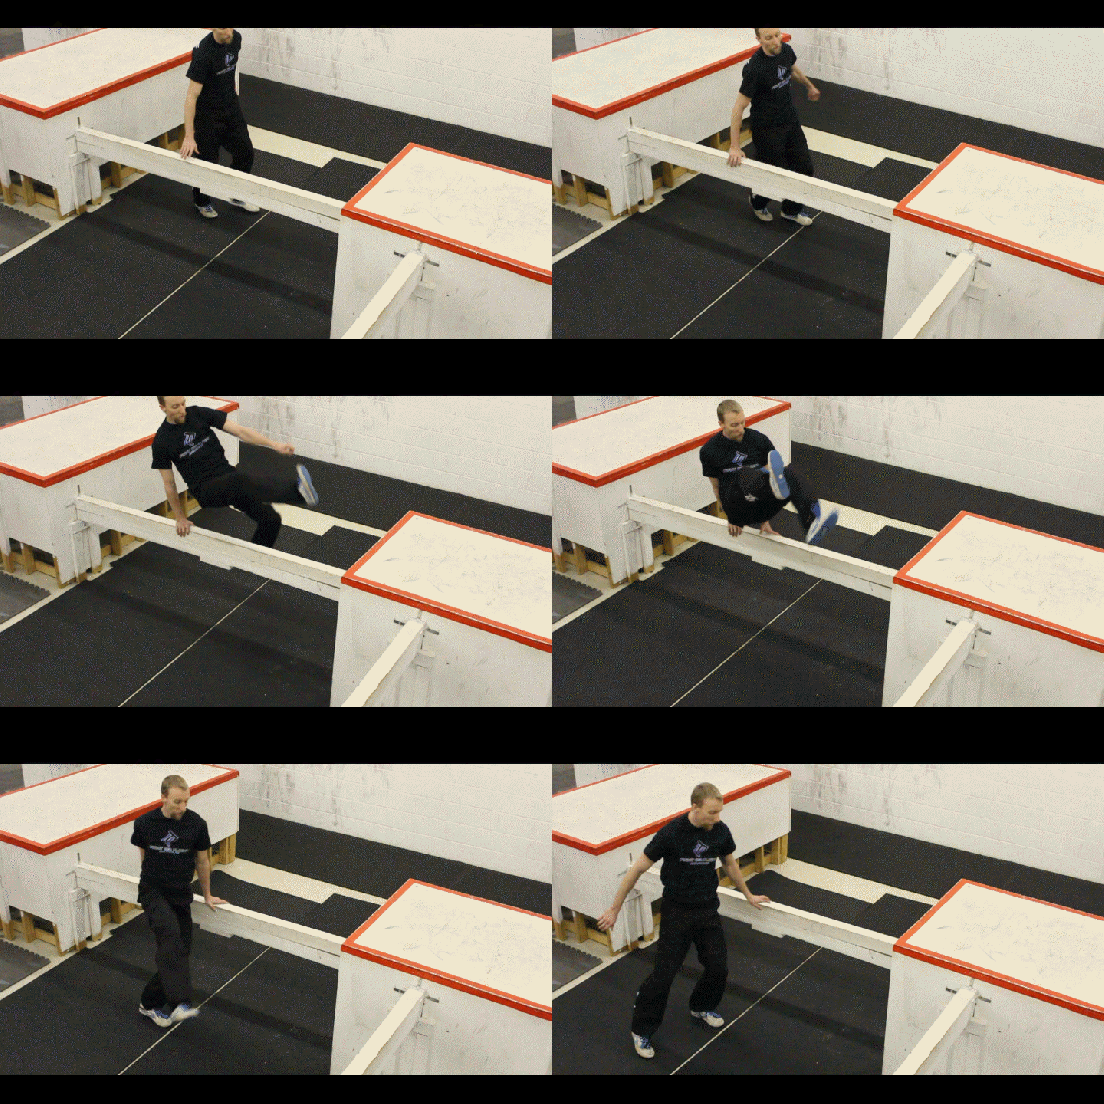
Thief Vault
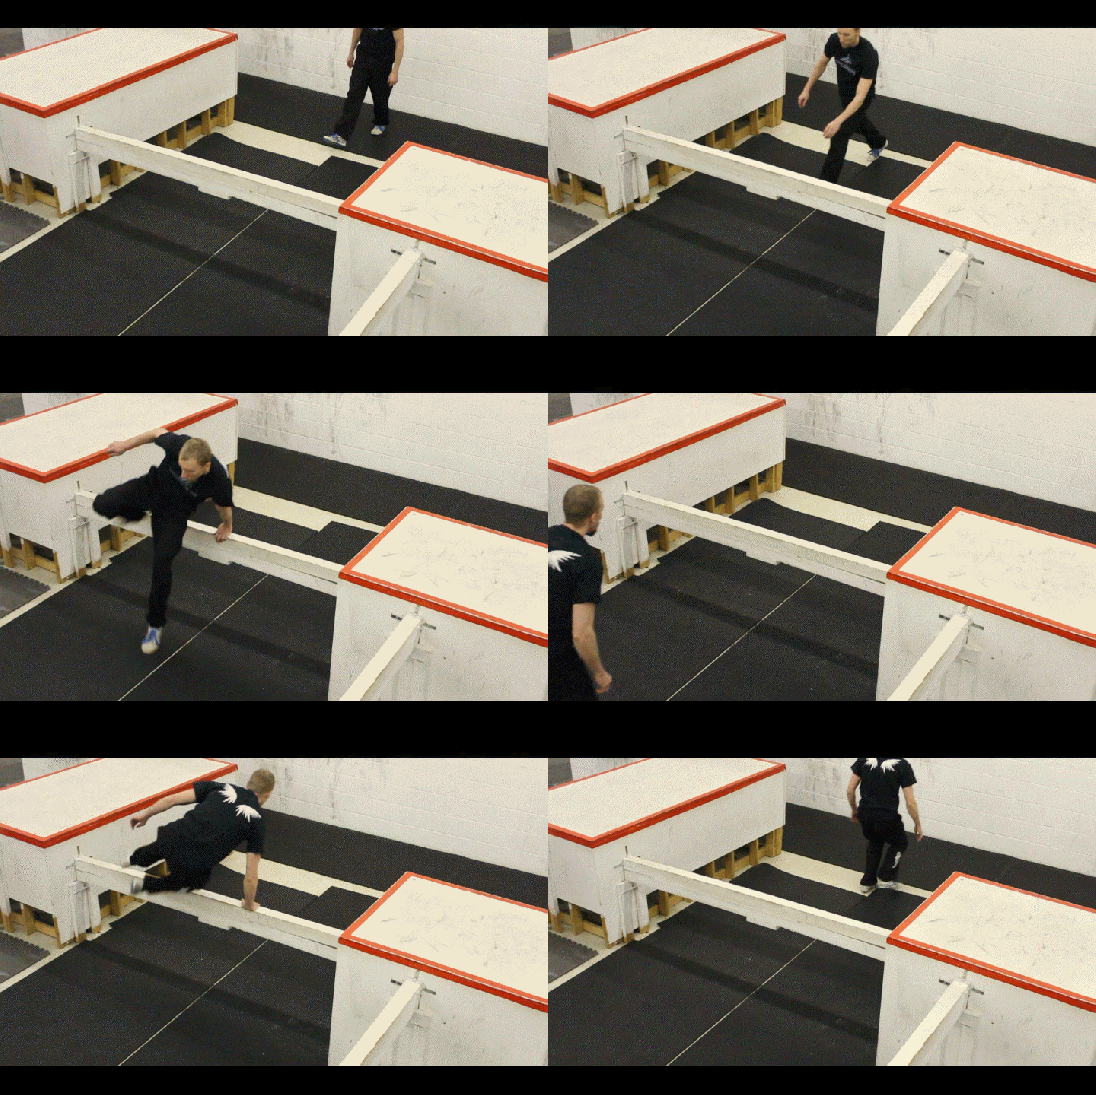
Alright, so we’ve talked about the differences of your jumping leg and the differences of the hand you place on the obstacle. Now it’s time to talk about the landing leg. We’ll start by taking a speed vault, but landing on the other leg. We call this a Thief Vault. To do a thief vault; first start by jumping off of your left leg, putting your left hand on the obstacle and landing on your right leg. Once again you can switch to the other side by jumping off of your right leg, putting your right hand on the obstacle and landing on your left leg. To go back to talking about the vaulting angles again, the thief vault will tend to come into the vault at an angle, and run out straight so it makes a 90 degree turn.
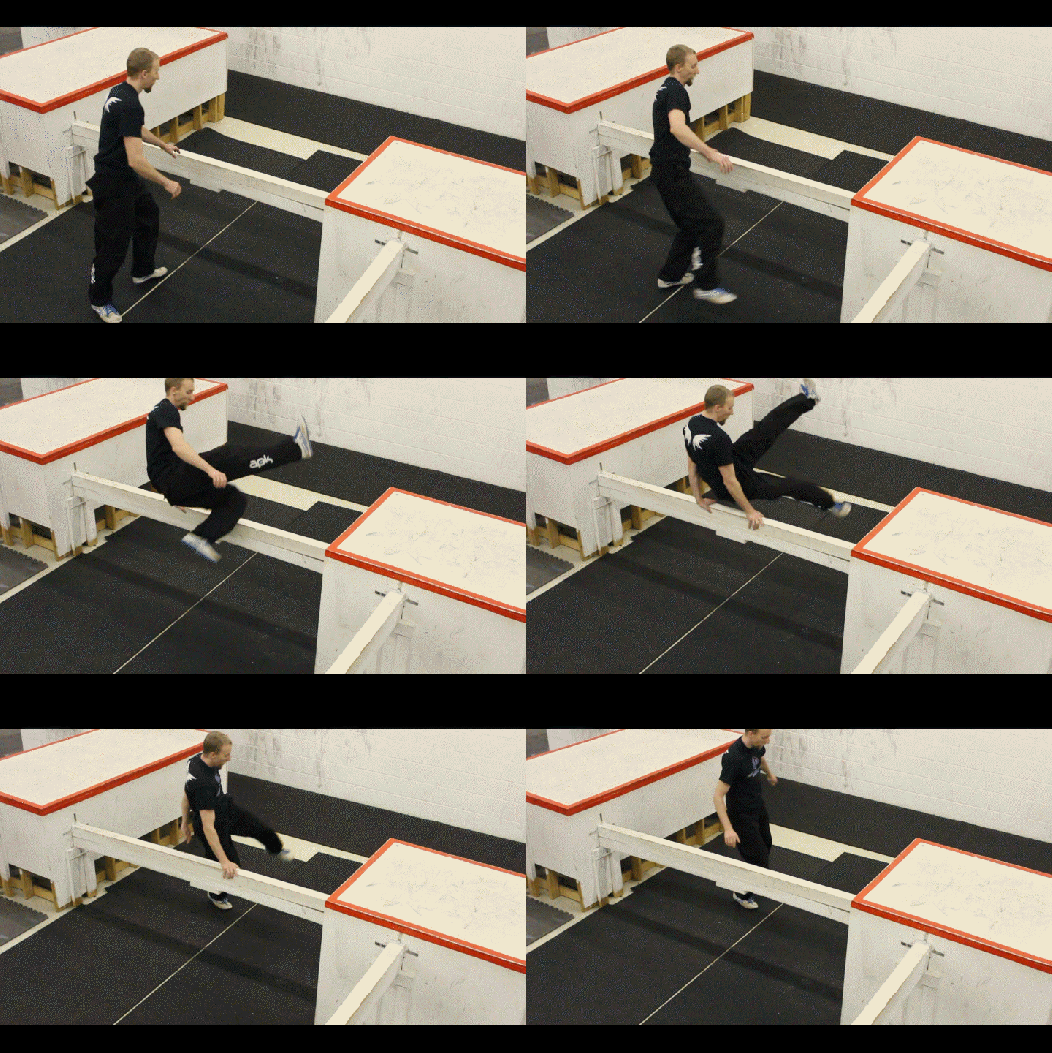
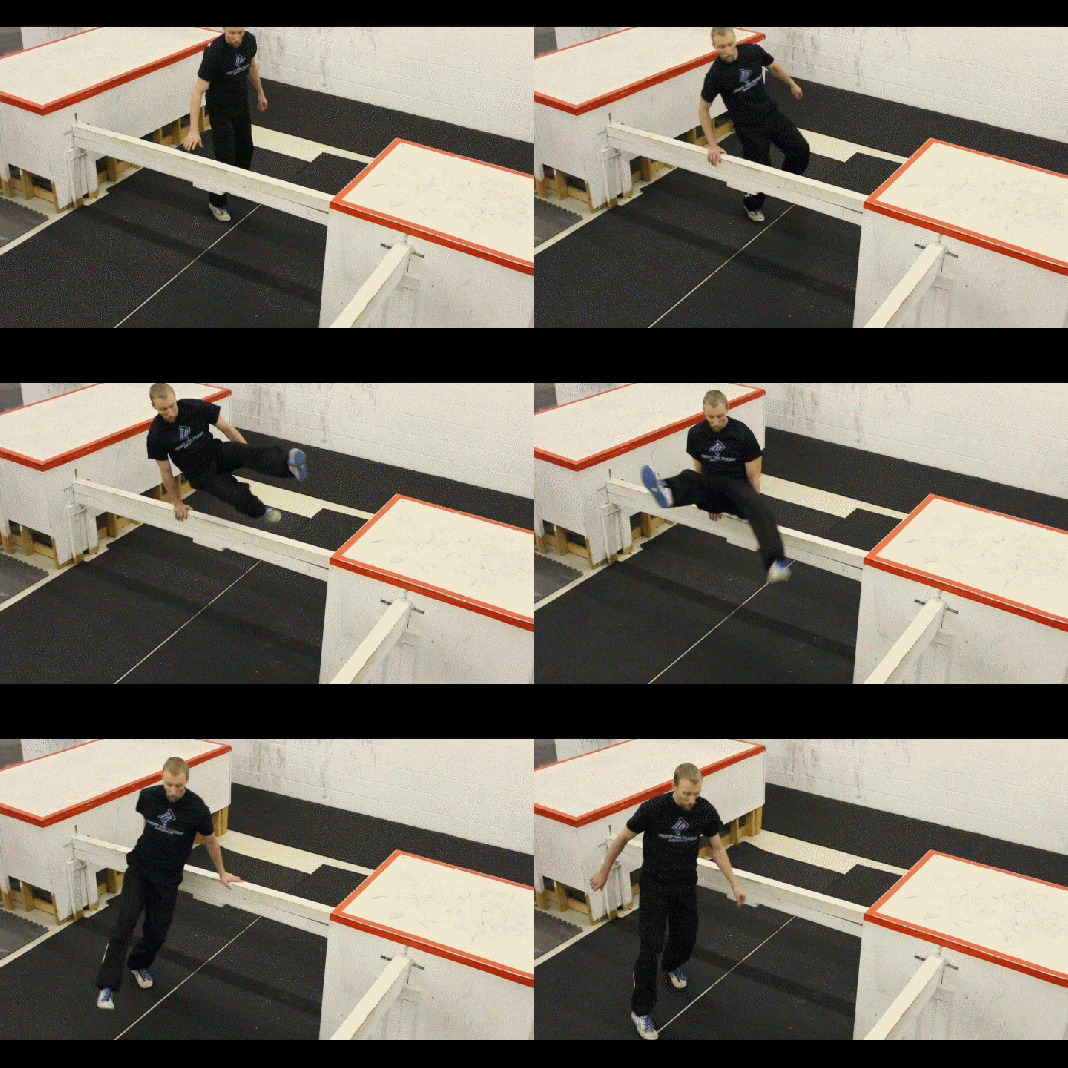
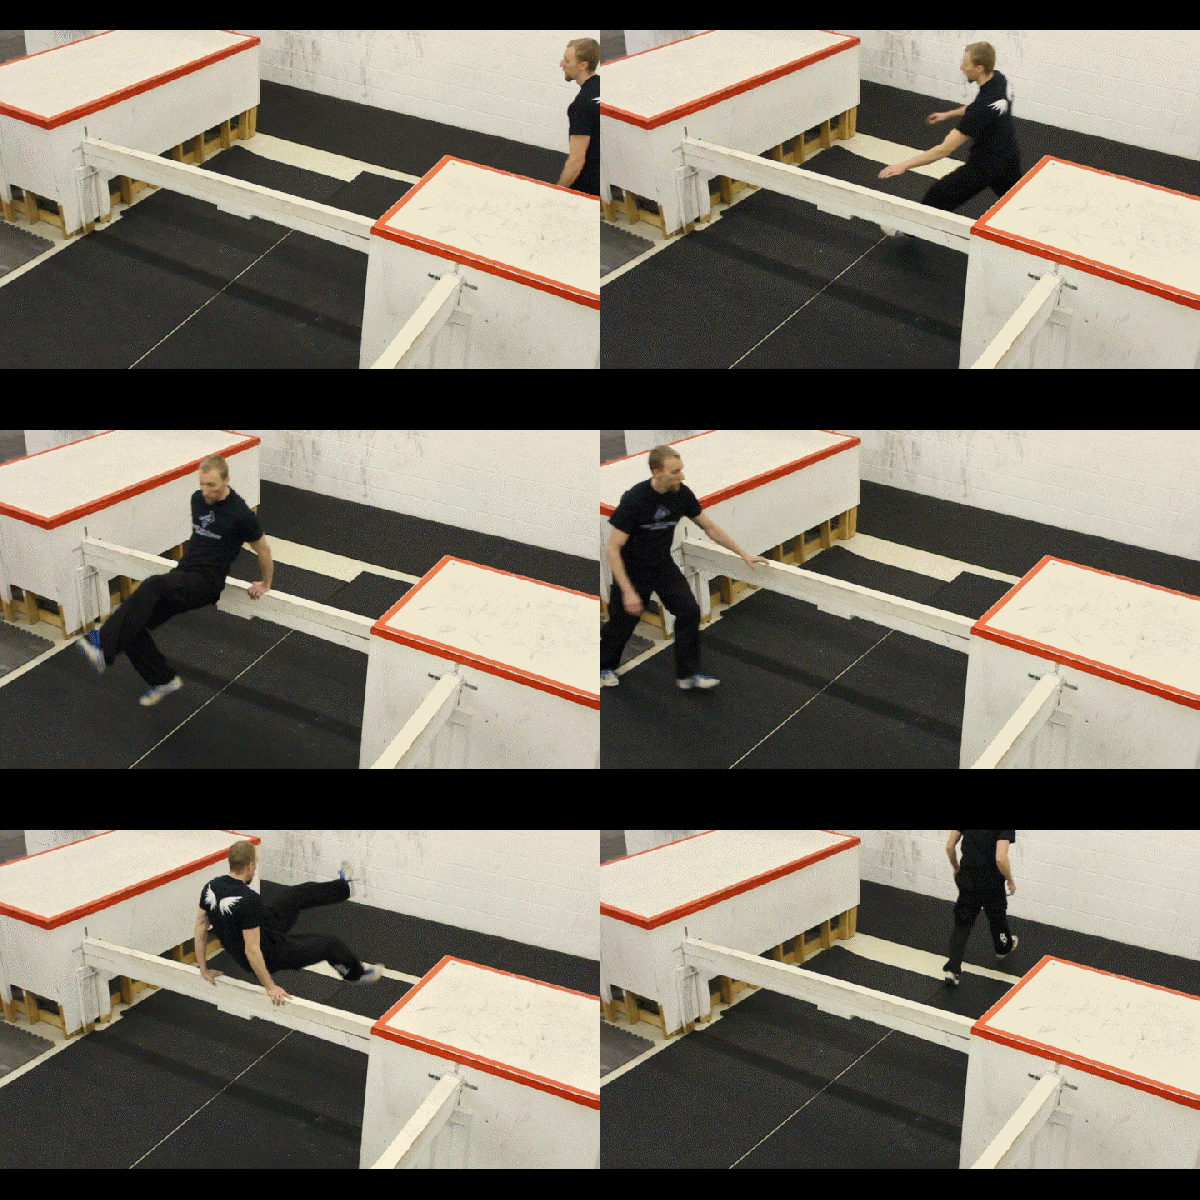
Lazy Turn Vault
Finally, we can start with the lazy vault and land on the opposite leg — a Lazy Turn Vault. To do a lazy turn vault; you will start by jumping off of your left leg, putting your right hand on the obstacle, and landing on your left leg. Also on the other side by jumping off of you right leg, putting your left hand on the obstacle, and landing on your right leg. So far we have not found any practical purpose for this vault in a parkour sense. However, we think it’s one of those things that since you can do it, you may as well practice it just in case that purpose is found eventually. There are some uses for this vault in more of a freerunning sense, though.
Reverse Variations
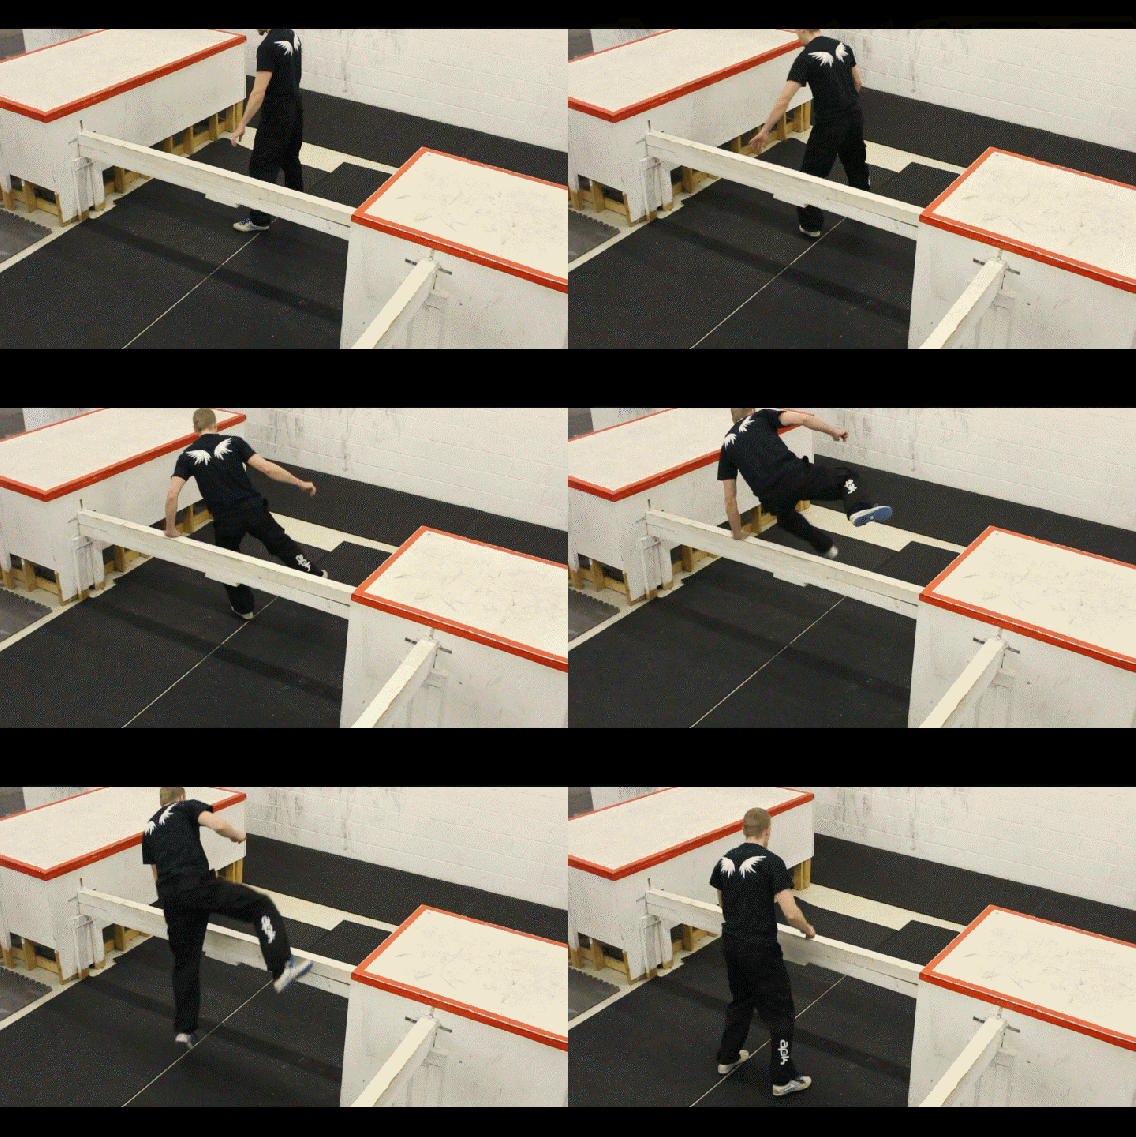
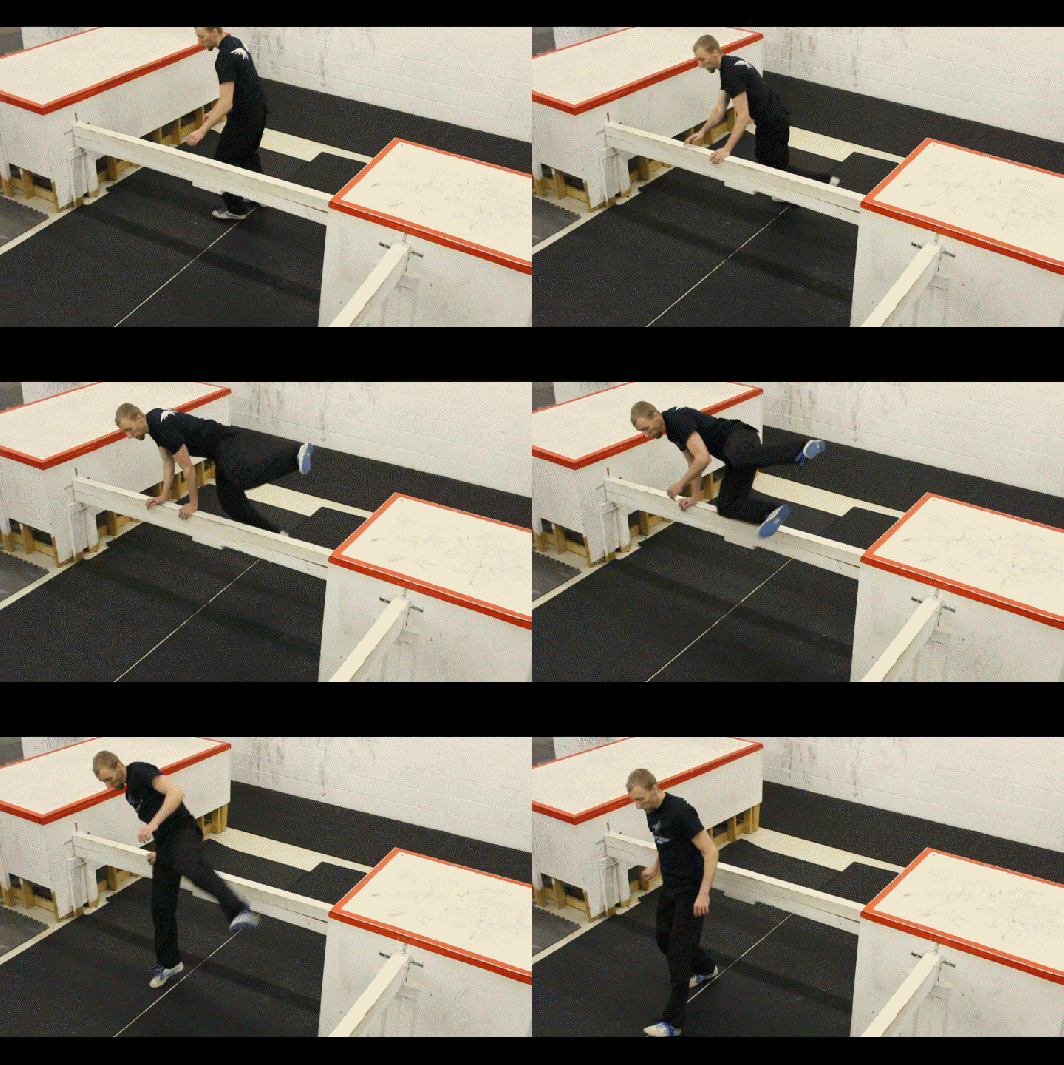
We are now up to 8 different vaults in the system, and we’re going to add a new concept that doubles that number. All of these vaults so far start by kicking a leg forward in front of you and over the obstacle. You can also do all of these vaults by kicking that leg backwards behind you and over the obstacle. We call these the “reverse” variations.
Reverse Speed (or reverse safety)
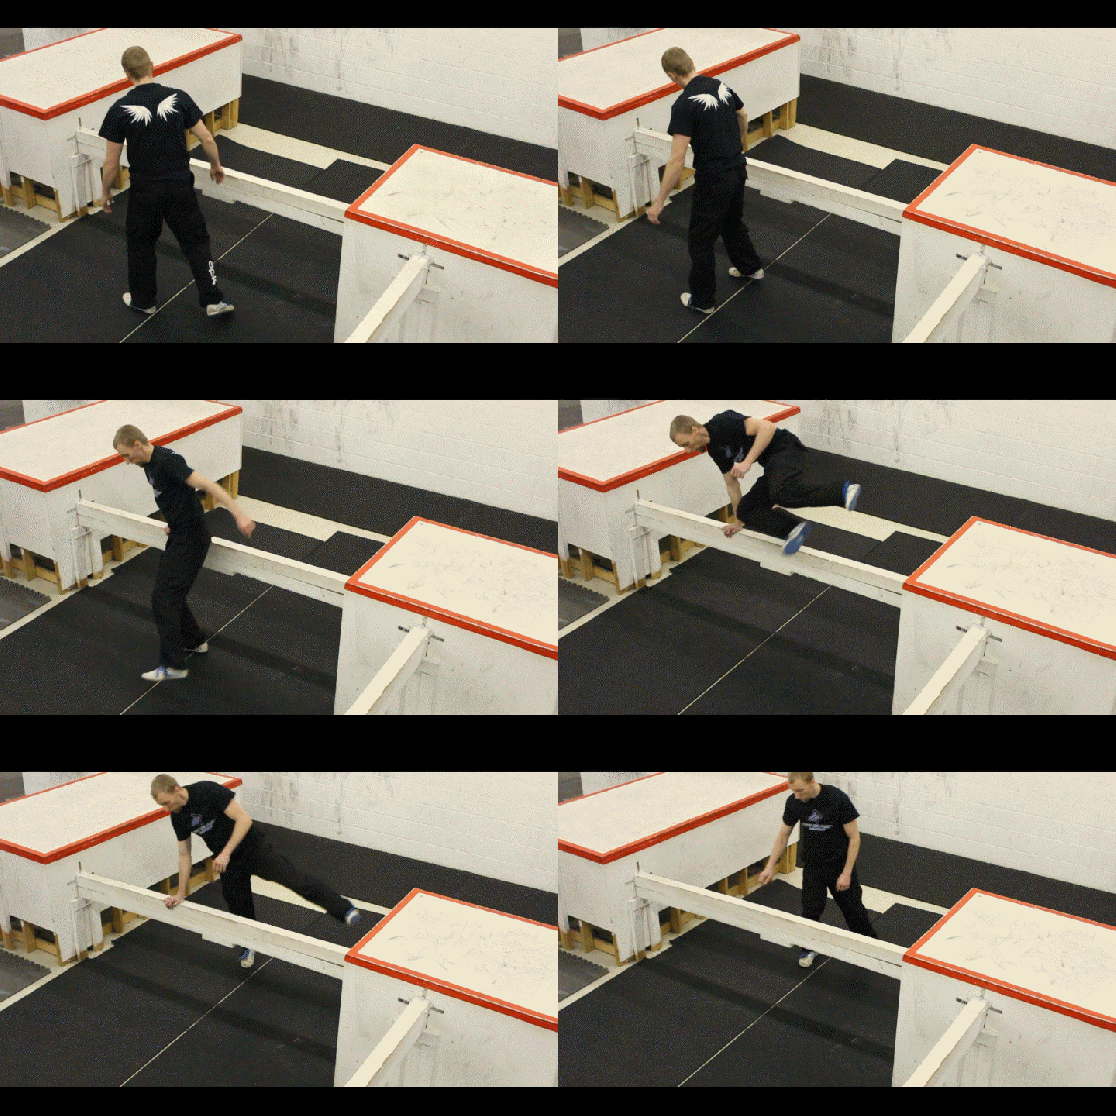
Reverse Lazy
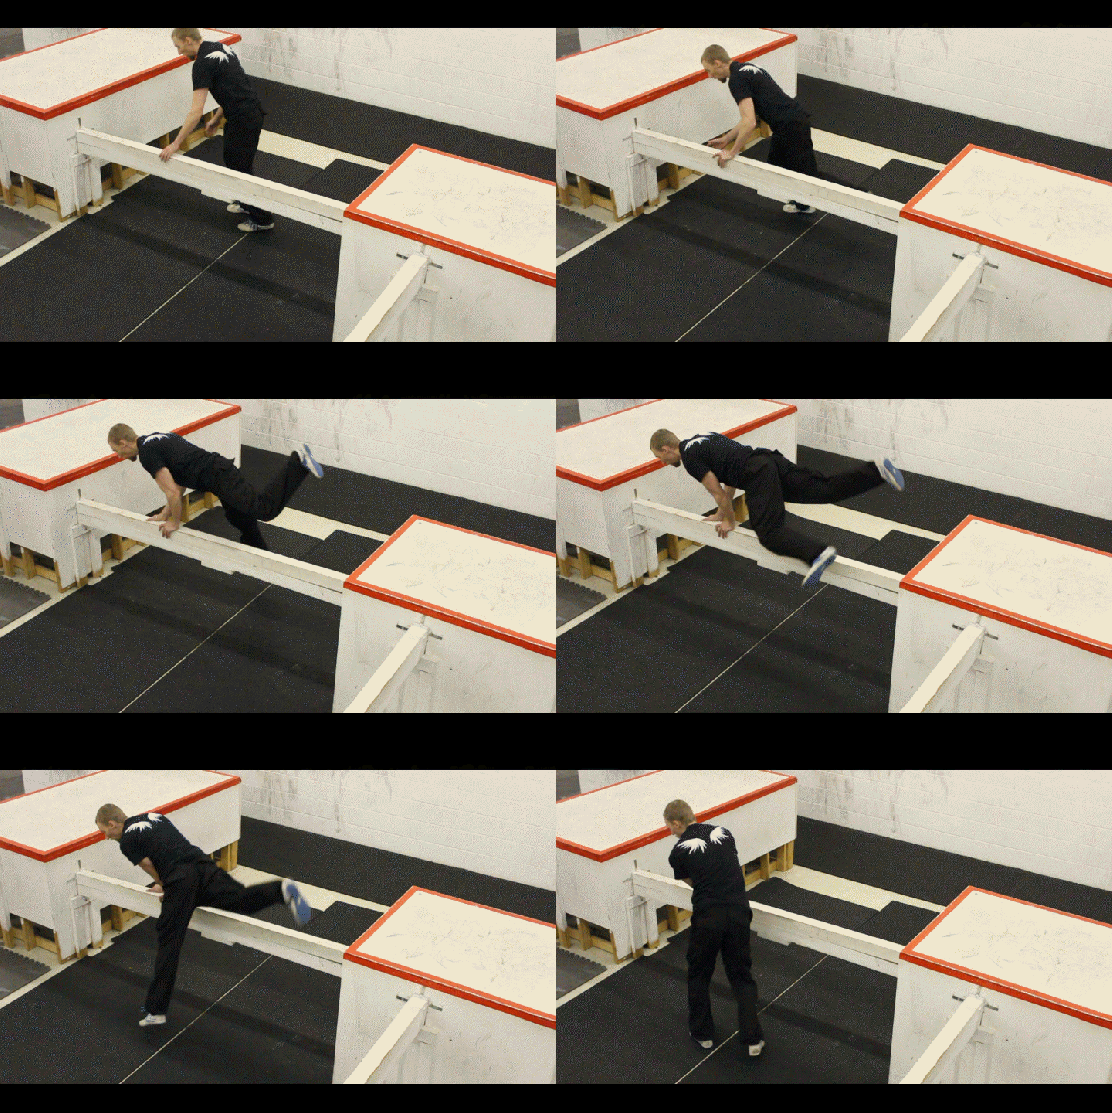
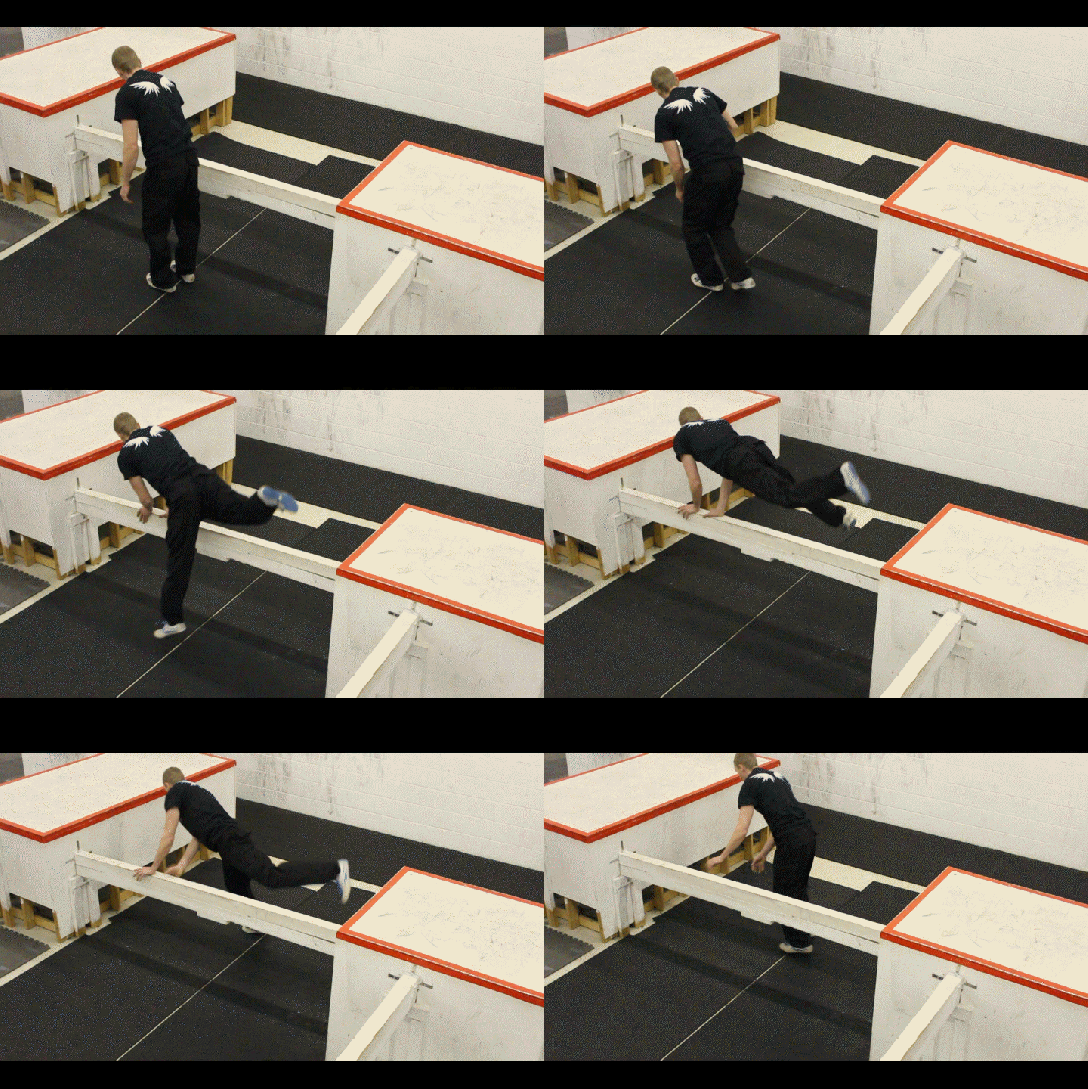
Reverse Thief (many of us simply call this the “Reverse Vault”)
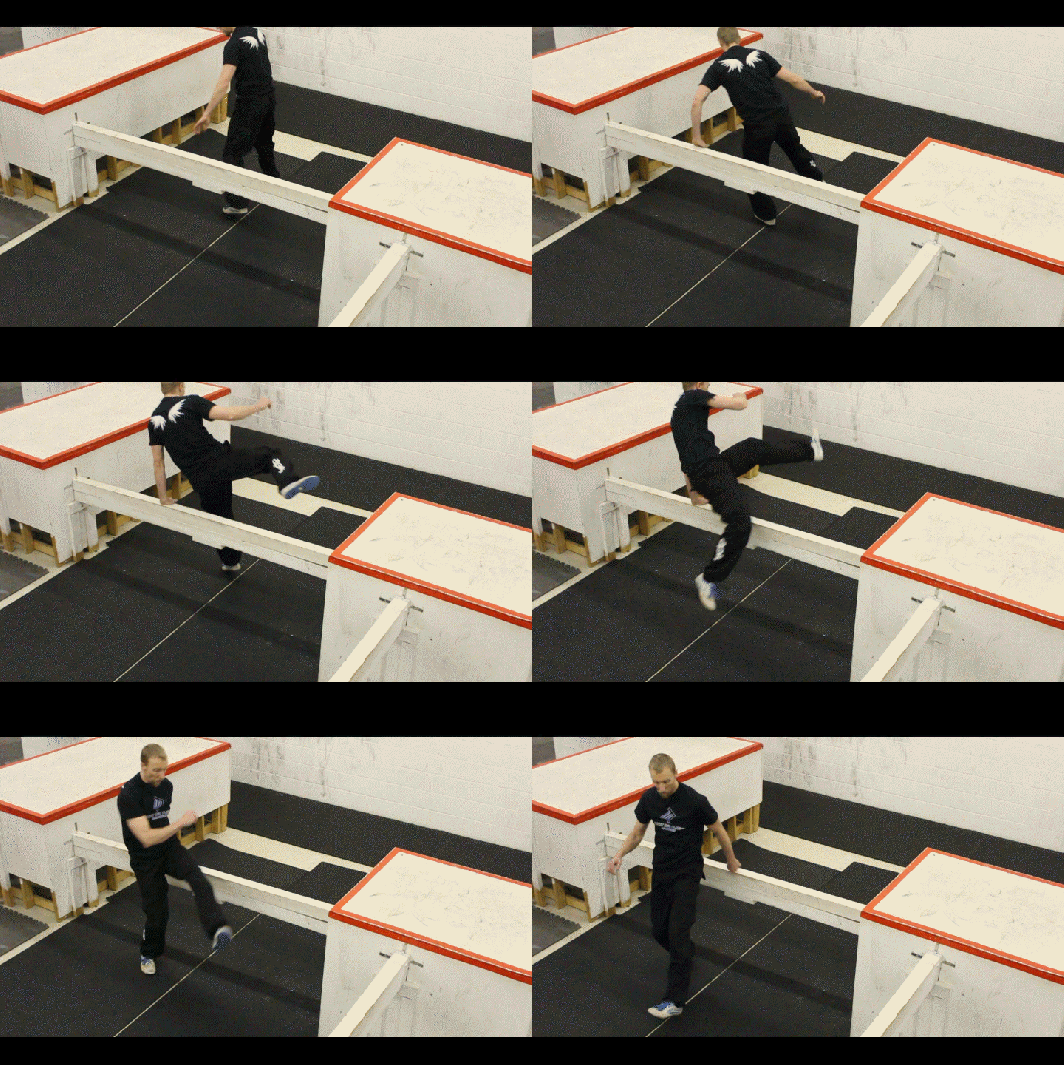
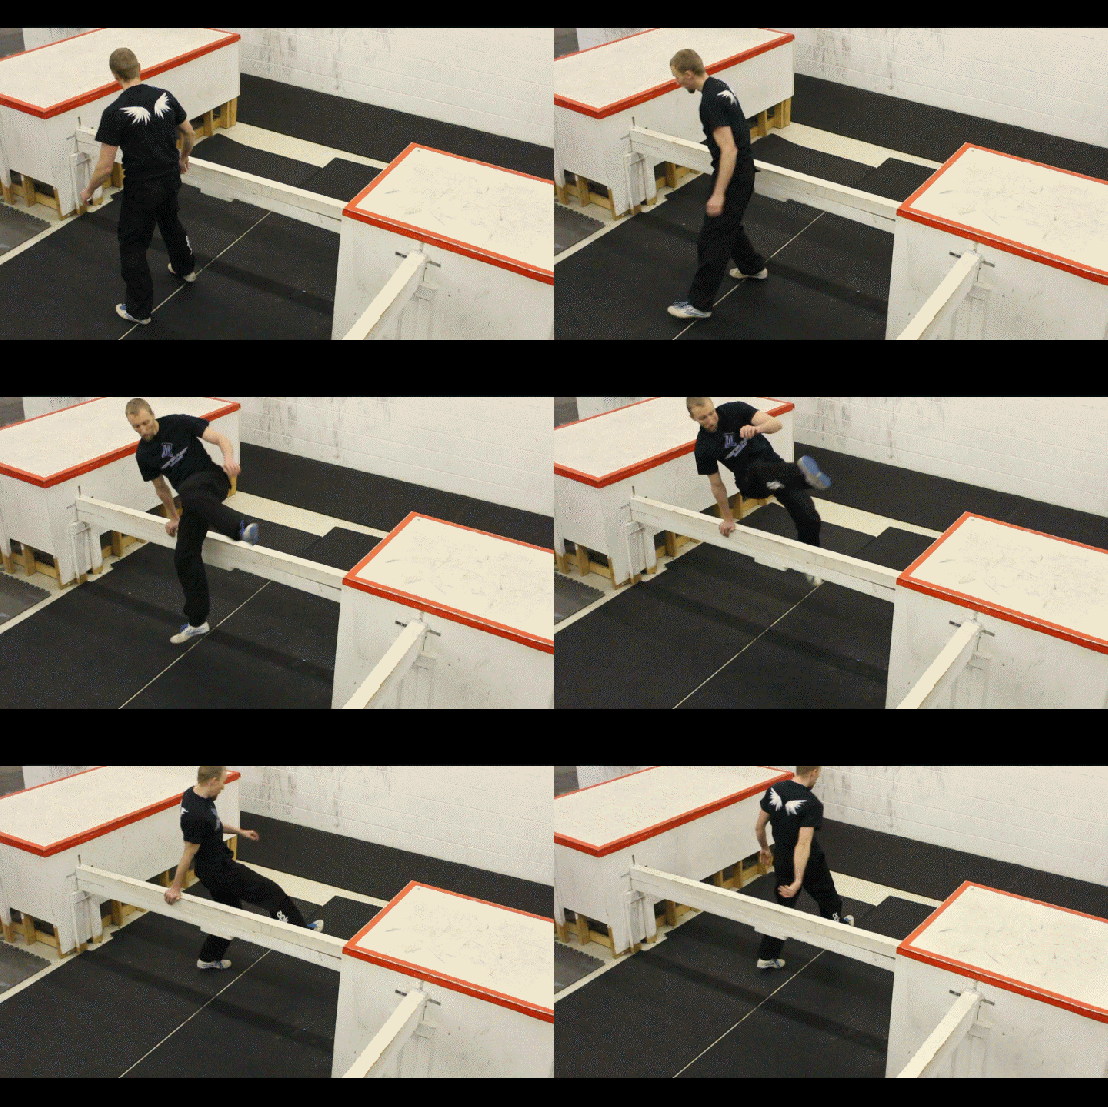
Reverse Lazy Turn (this one looks and feels almost identical to the speed vault. There ends up being a little overlap when we break it down this way)
Dash Vault
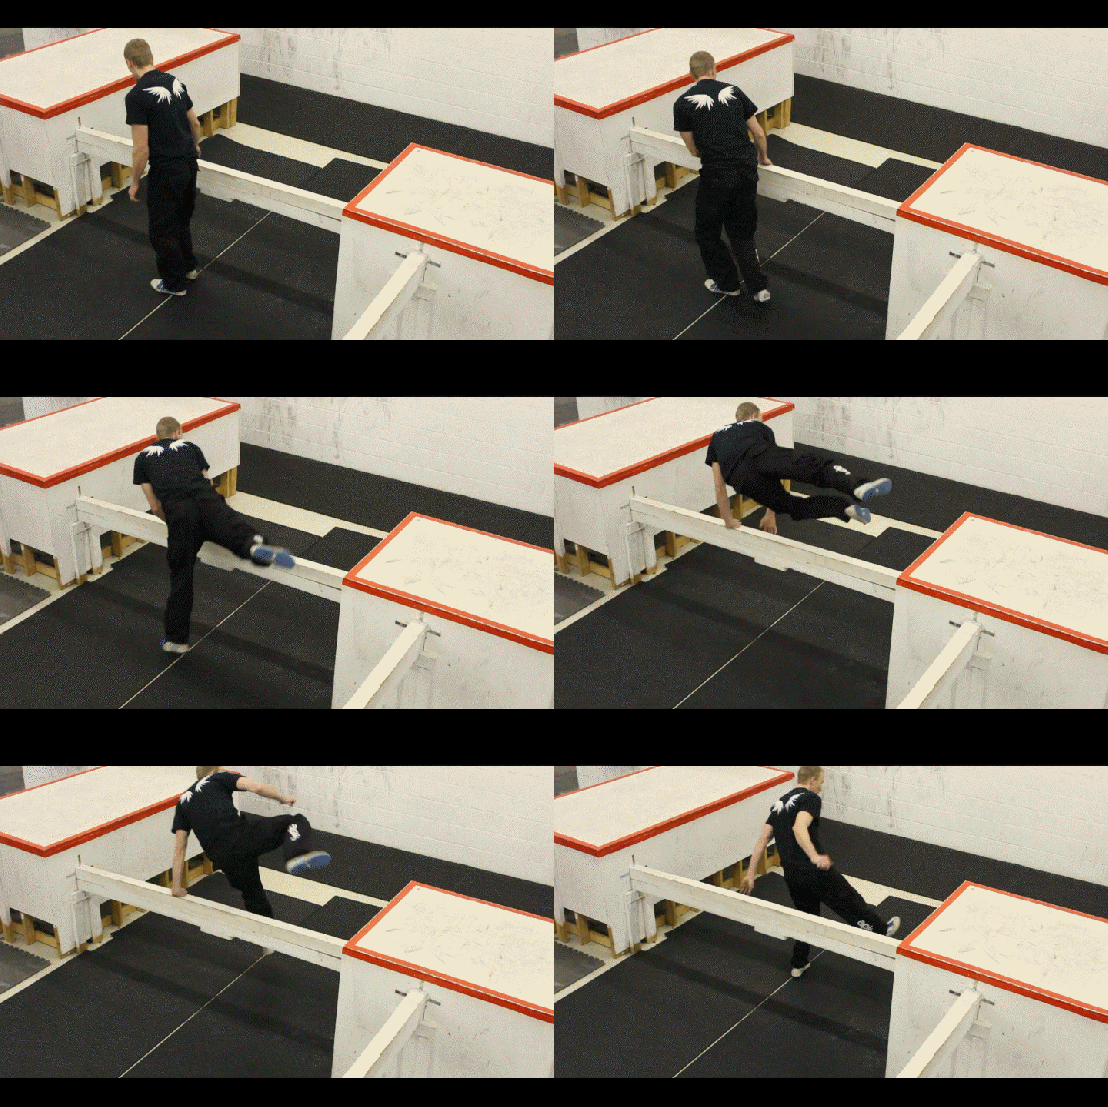
That brings us up to 16 vaults in the system. So far these seem to be the only ways you can get over a basic obstacle using only one hand (going into the vault). All other vaults seem to be a variation of these with added twists, flips, turns, feet done together, or anything like that. However there still is a bit missing. If you come straight at the obstacle, kicking your feet straight out in front of you, and put both hands down on the obstacle…you have the Dash Vault. You can do a dash vault by jumping off your left or right leg, and they feel distinctly different. But no matter how you land it seems to feel pretty much the same, so I only consider the left jump dash and right jump dash to be different.

Kong Vault
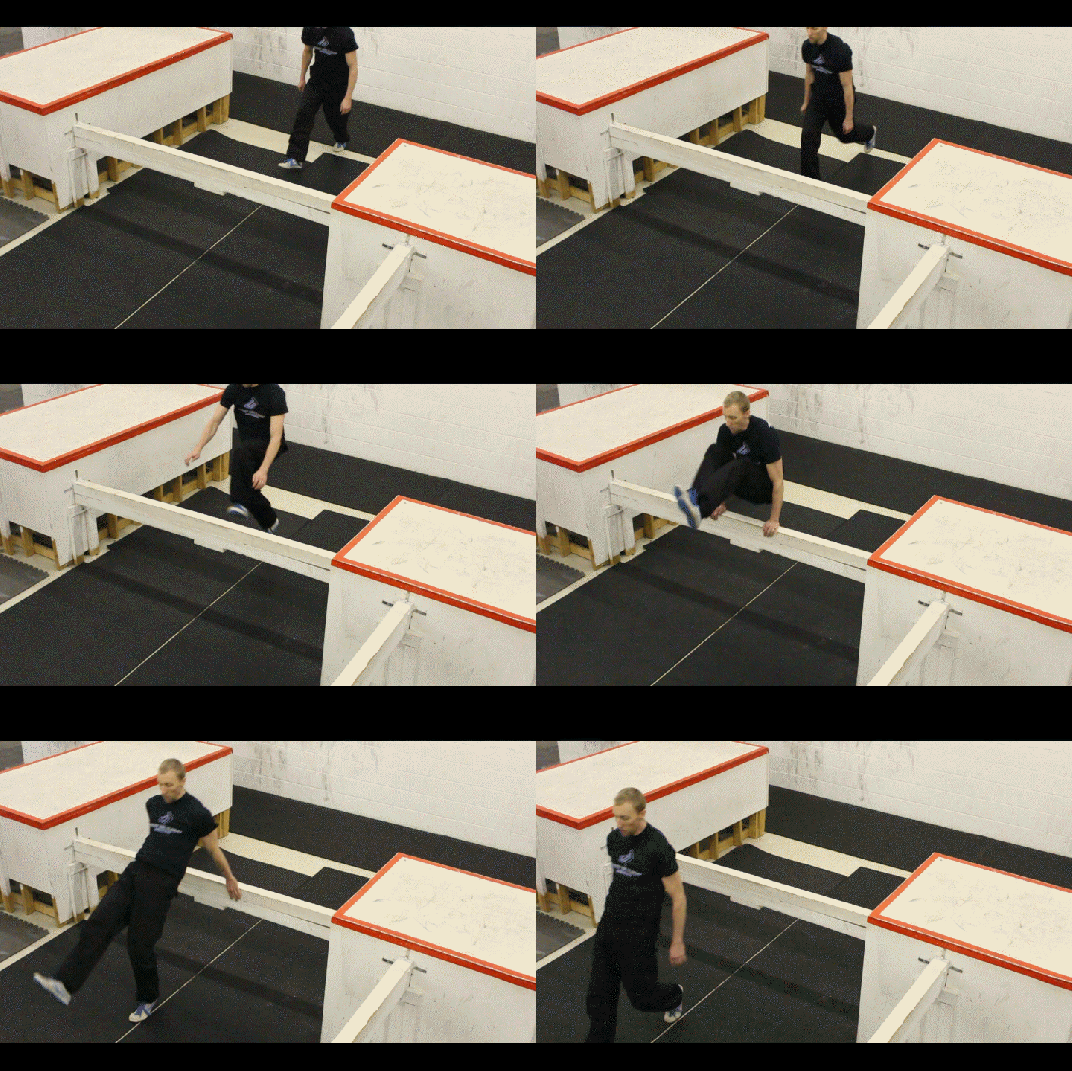
And finally, if you do the reverse variation of the dash vault by kicking your leg backwards as you approach the obstacle, this is called the Kong Vault. Again, there is a distinct difference between a left and right leg jump at the beginning, but it doesn’t really seem to make much of a difference which leg you land on. So once again I would consider these two separate vaults.
